PS-12232-P16 Williams 11B/11C Pinscore LED Display Review
Pre-Installation
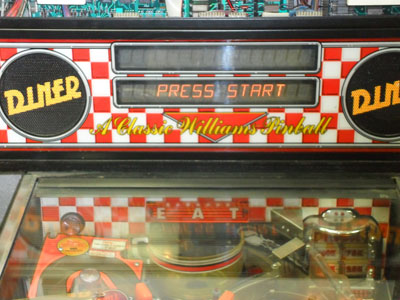
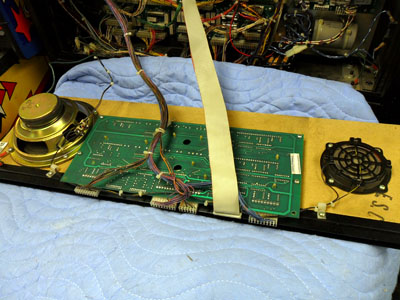
Here are some pictures of the original gas displays (pre-installation). The first display should be showing "FREE PLAY" but it does not. Not having working displays is a huge personal gripe of mine. Without working displays it makes running diagnostics completely difficult if not impossible.. not to mention the newer machines use the displays extensively as part of the user experience. Hit a jackpot or feature on the playfield and displays will scroll an animation or text. It's also one of those things that just immediately stands out to me every time I play the game, so displays just have to work!! :)

Installation
Installation's pretty quick (more so if it comes with the mounting hardware!!). Remove all the wire harnesses on the old display, noting positions of the red line on the ribbon cable (marking pin #1) and it's also a good time to verify the other connectors have their key pins installed that idiot-proof putting them in backwards.
Set the dip switches to the correct game configuration on the new Pinscore board (in my case they were already set for Williams / Diner -- all off). Then unscrew the old display board (4 screws) and remove.
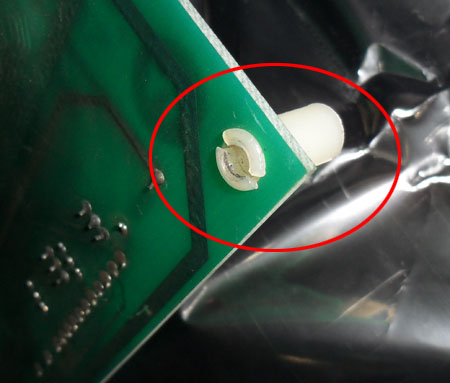
Unfortunately my new Pinscore display did not come with mounting hardware. An email to Marco Specialties revealed that they are no longer packaging mounting hardware with this board since you can now use the existing hardware. This seemed odd to me because the old display's standoffs were mounted through the board and did not look like they were going to be easy to remove even with pliers. I emailed Marco Specialties back with the picture below & they agreed that for the Diner I shouldn't have to try and salvage these 20yr old standoffs. So, I think what happened is most of the machines the new Pinscore display replaces have a different type of standoff, but Diner does not. Marco's sending me some 1/2" standoffs which is superb customer service from them and they're also going to talk with engineers about this. I'm temporarily using rubber sleeves as standoffs so that the board sits at the correct height.

Picture shows one of the (4) the standoffs on old board
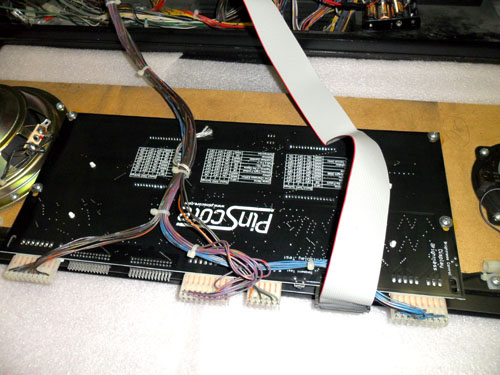
Anyway back to the installation. The new display then sits on the rubber sleeves/standoffs and a washer & screw keep it secured. First just loosely tighten each screw so adjustments can be made if the characters are too high or low for the display window. Then tighten the screws and re-connect the cable harnesses (verifying red side of ribbon cable marking pin #1 aligns with pin #1 text marked on PCB). Put machine back together & you're ready to go!
Here's a picture of the new Pinscore display installed:
Now to test the new display..
Comments:
No comments have yet been made.
